
mission maps in 1.0
Six Objective missions and three Survival arenas; CRC Training Facility is a separate tutorial space.S1S2

Independent · Bilingual · Patch tracked
Choose a map to practise, compare melee weapons and attachments, treat infection, and decide when to extract. Start with the answer you need for your next run.
1.0 rules / 1.1 changes
Choose your mode and difficulty before committing a Responder. These launch rules explain map choice, wave timing and infection treatment; check the Resupply 1.1 changes below.
Open the latest patch recordSix Objective missions and three Survival arenas; CRC Training Facility is a separate tutorial space.S1S2
Beginner, Normal, Hard and Nightmare change both stakes and rewards.S1S3
Each wave lasts five minutes. Three waves lead to final extraction; failing two opens early extraction. Preparation, travel and extraction add time.S1
The cure is single-use, takes 30 seconds and grants infection immunity.S4S3
Priority dispatches
Find a walkthrough, choose an attachment for the fight ahead, or check a patch change before repeating an older strategy.
The squad starts together on Downtown rooftops. Align antennas, burn NPV-26 corpses and reach the outskirts for extraction.
Open walkthroughCompare four new 1.1 attachment families for recoil, hip-fire spread or shotgun reach, then check the slot on your current weapon.
Attachments guideCheck dated 1.1 fixes and known issues, then follow a symptom checklist for match entry, achievements or PS5 problems.
Check 1.1 statusResupply 1.1 raised Prime Walker share at Threat Level 10 from 40% to 59%. Plan squad risk and exit calls with updated horde composition.
Plan a Nightmare runChoose blunt or slashing roles, protect stamina for grapples, then verify the current line.
Plan meleeFilter 17 melee weapons by type and grip, then compare published damage, headshot and stability values.
Compare weaponsFollow live objectives, assign carrier cover and decide when a supply stop is worth the detour before extraction.
Open walkthroughCheck every Steam-listed condition, then turn map clears and specialist challenges into a sensible plan.
Open checklistOperational briefs
Learn mode choice, team supply sharing, infection treatment and extraction calls to reduce avoidable losses.
02Follow Objective mission stages or plan Survival defense, then check changes affecting the map.
03Compare published 1.0 melee damage, headshots, stability and weapon tiers, then browse firearms.
04Separate Phalanx delay from a real cure, then compare early and final extraction.
05Compare official 1.0 extraction results by mode and difficulty, then choose a practice goal for your squad.
06Check background slots, upgrade costs and reroll trade-offs before spending Credits on a Responder.
First run / Decision path
Learn the controls, practise the map, then add co-op responsibilities. These are planning suggestions; the linked rules explain each choice.
Finish Training, inspect landmarks in Solo, then enter Beginner when you are ready to learn the co-op loop.S1S3
Call out valuable pickups and regroup before carrying the team haul into the next objective.S3
Sprinting and melee share the resource used to resist grabs, so arrive at close contact with an escape reserve.S5
Compare health, infection and carried Supplies before choosing early safety or the larger final payout.S3
Map situation
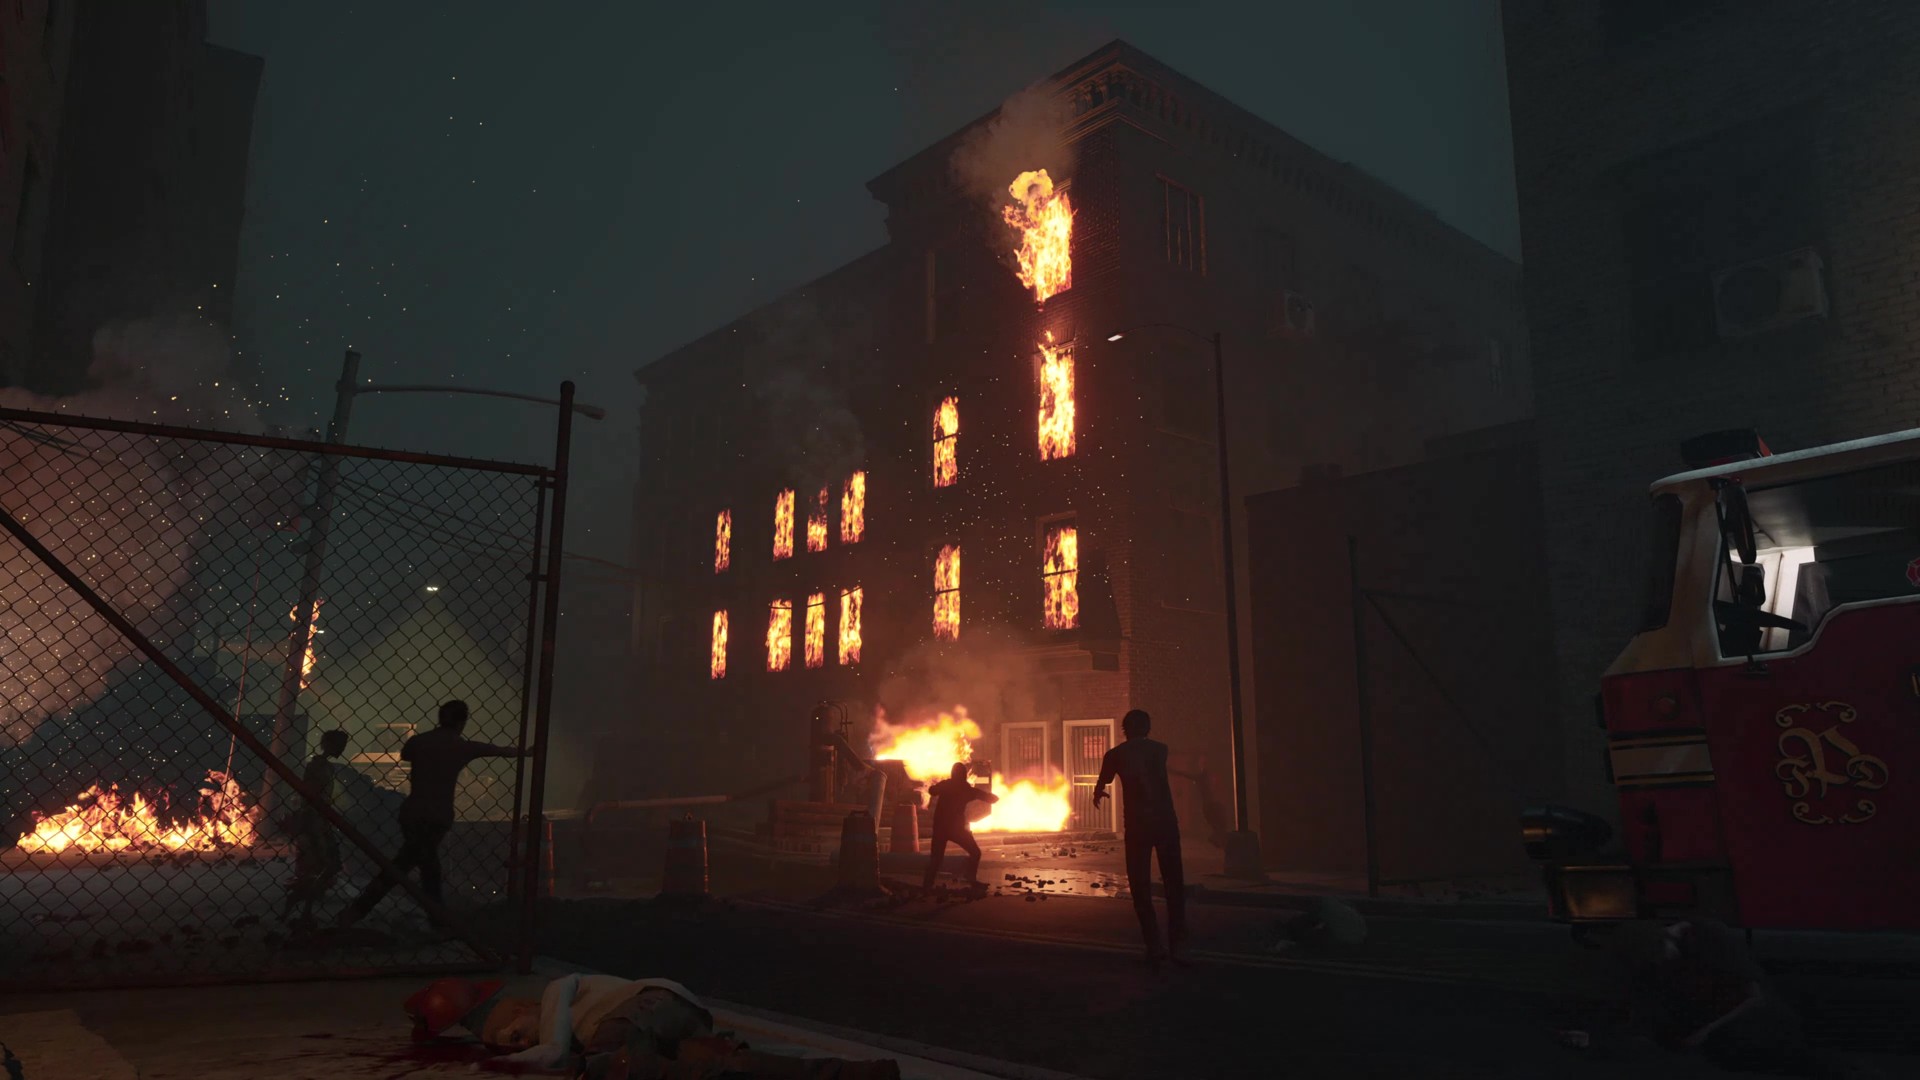
Objective mission
On Pottsville, identify the opening first: Scenario 1 advances through town; Scenario 2 starts on Downtown rooftops and runs toward outskirts extraction.

Objective mission
A large Objective map built around an industrial power facility and surrounding routes.
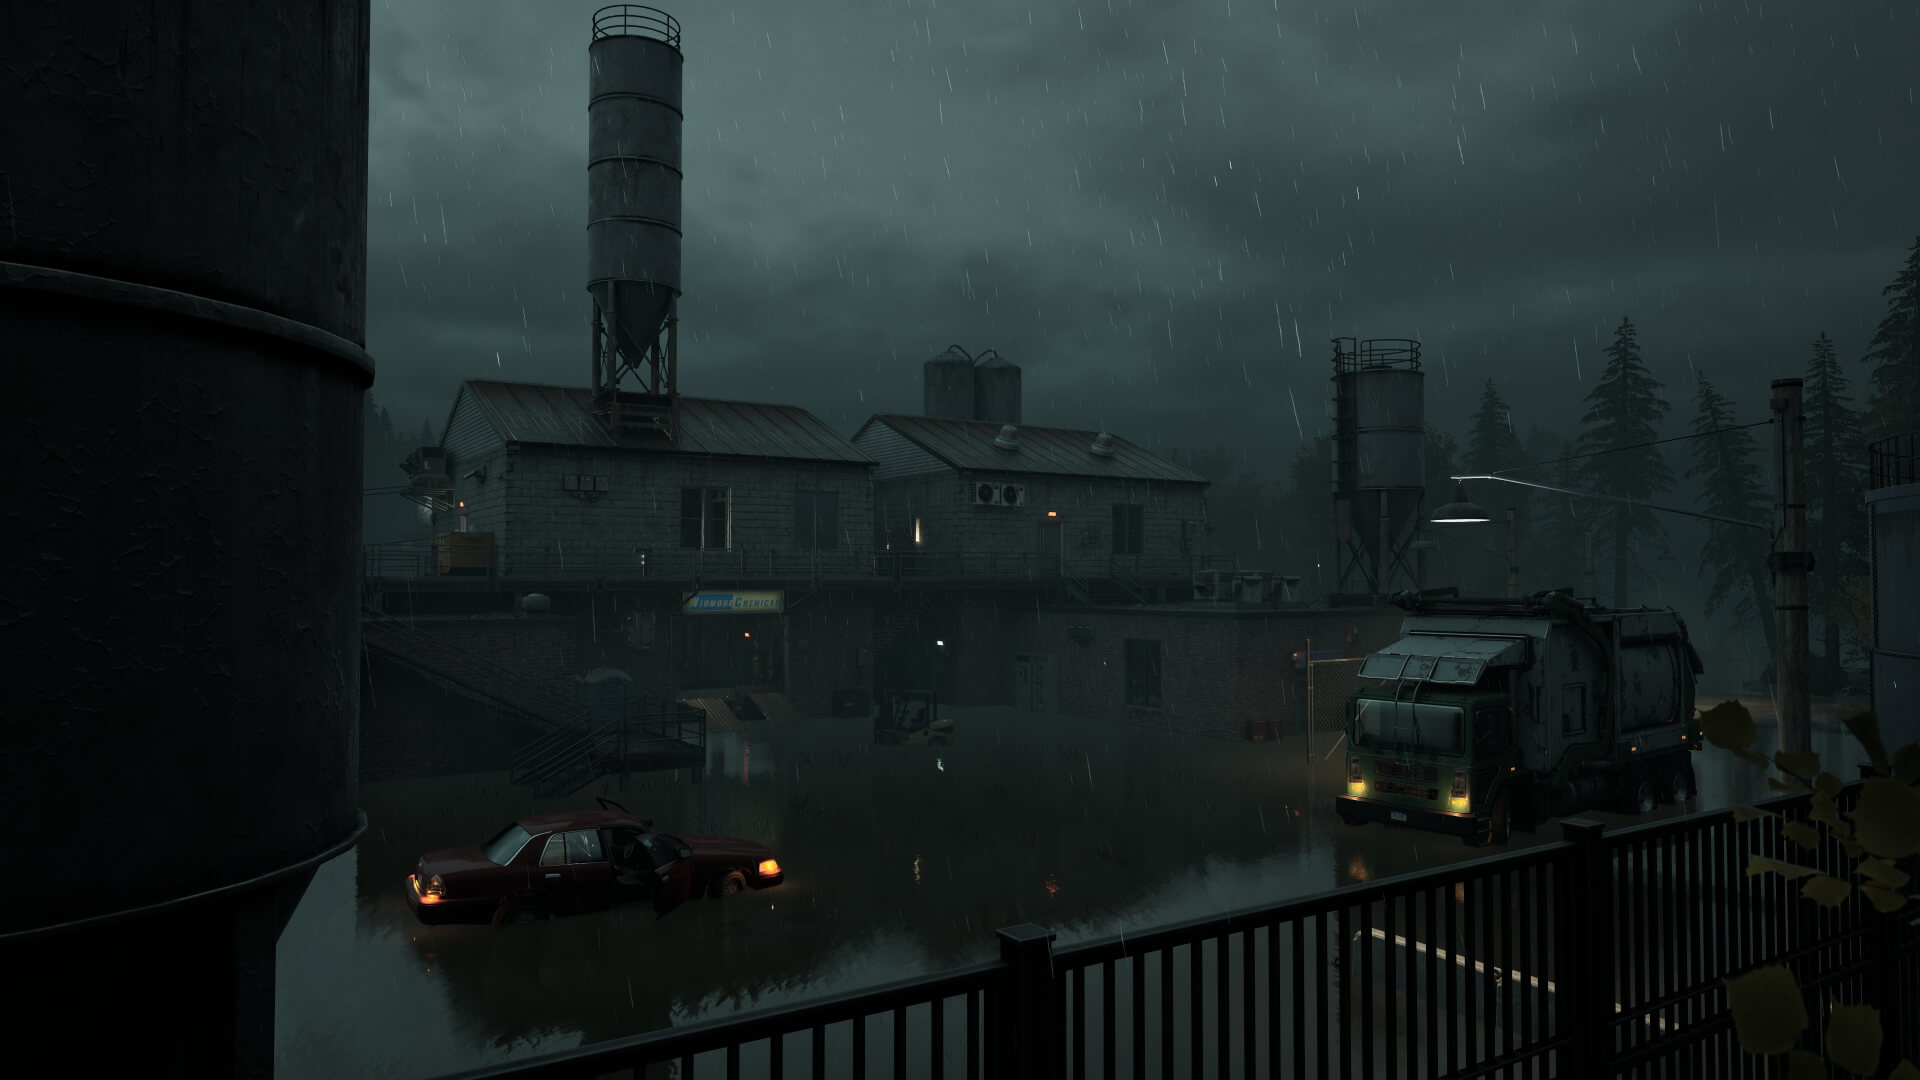
Survival mode
A waterlogged Survival map where sightlines and dry loot-sharing space are limited.
Field database
Open current weapon, item, enemy and skill details with version history and related guides for faster mid-run decisions.
Weapons / One-handed blunt
The Armageddon starting melee weapon, moved to Tier 1 with a lighter damage profile.S1
Weapons / One-handed slashing
A high-tier one-handed slashing weapon with a 1.0 damage increase.S1S5
Weapons / Two-handed blunt
A Tier 2 blunt weapon rebalanced away from its former best-in-class stat line.S1S13
Weapons / Two-handed slashing
A heavy slashing weapon with extra quick-attack stability in 1.0.S1
Weapons / Automatic rifle
An automatic rifle with semi/full-auto and suppressor audio fixes recorded in 1.0.S1S14
Items / Loadout utility
A high-end consumable that prevents the next permadeath loss while equipped.S1S15
Armageddon 1.0 / Melee preview
Compare four weapons using the damage lines published for Armageddon 1.0. Read each line as Quick / Strong / Charged; a dash means unpublished, not zero.
Q / S / C = Quick / Strong / Charged| Weapon | Tier | Field role | Base damage | Headshot |
|---|---|---|---|---|
| Mallet | T1 | Starting control tool | 10 / 13 / 15 | 20 / 25 / 30 |
| Baseball Bat | T2 | Fast stability pressure | 20 / 25 / 33 | 25 / 35 / 50 |
| Shovel | — | Long blunt damage line | 20 / 25 / 34 | 35 / 45 / 50 |
| Tree Trimmer | — | High base slashing line | 25 / 30 / 35 | Not published |
Infection & extraction / Decision desk
Medication and extraction solve different risks. Read the immediate effect before spending the team’s rarest resources or abandoning final rewards.
Phalanx resets symptom progress but does not remove the infection. Use the window to reach treatment or extraction.S4
Phalanx detailsThe single-use cure takes 30 seconds to prepare, then cures its user and grants infection immunity.S4S3
Gene Therapy detailsAn early exit preserves the Responder and returns a small Credit share, but grants no character progression.S3
Early extraction rulesFinal extraction converts the team’s carried Supplies into character XP and Credits for the surviving run.S3
Final extraction rewardsLatest major update
Check the changes that affect your next run: Pottsville Scenario 2, new attachment families, extraction respawns and Nightmare hordes.
New Pottsville Scenario #2: Responders spawn on Downtown rooftops, align antennas under a timer, locate and burn bodies to prevent NPV-26 outbreaks, then reach the outskirts for extraction.S6
The existing attachment system expands with four new families: Small and Rifle Muzzle Brakes reduce recoil; Pistol and Rifle Compensators reduce recoil and hip-fire spread; Micro and Large Laser Sights reduce hip-fire spread; Shotgun Chokes improve medium-range effectiveness.S6
Normal difficulty gains a final respawn window at the start of the extraction sequence, completing the respawn coverage that 1.0.4 added only to Survival.S6
Nightmare Threat Level 10 horde composition adjusted: Walkers shift from 60% Normal / 40% Prime to 39% Normal / 59% Prime; Runners shift from 10% Normal / 5% Prime to 7% Normal / 10% Prime.S6
Using these guides
The melee preview uses published 1.0 values. Map and gear guides also cover the documented 1.1 changes.
How we keep guides currentOpen the supporting official notes beside key values.
Follow update links when a mission or item behaves differently.
Q / S / C follows attack order; a dash means unpublished, not zero.
No More Room in Hell 2 Wiki
No More Room in Hell 2 Wiki is an independent player guide in English and Simplified Chinese. Start with a practice map, follow the mission stages, compare equipment, or check infection and extraction rules before risking a Responder.
Use the database for an item name, the guides for a gameplay decision, and the update archive when a patch changes the answer. Published 1.0 mechanics and documented Resupply 1.1 changes retain their own version labels and official sources.
FAQ / QUICK ANSWERS
Learn the controls in Training, practise maps without permadeath in Solo, then try Beginner co-op with its one-minute respawns. Use your first team runs to practise regrouping, supply sharing and extraction calls.S1S3
Read the beginner guideEarly extraction preserves your current Responder and returns a small Credit share. Final extraction converts the team’s carried Supplies into character XP and Credits.S3
Read the extraction guideNo. Phalanx Pills only delay symptom progress. The single Gene Therapy in each match cures its user and grants infection immunity.S4S3
Read the infection guideNo. This is an independent player guide, unaffiliated with Torn Banner or Valve. Check the version and official sources beside each gameplay claim.
About this wikiArmageddon 1.0 launched with six Objective maps and three Survival maps.S1S2
Browse all mapsNo. Three five-minute waves account for defense time only; preparation, travel and extraction add time. Completing Wave 3 opens final extraction, while failing two waves opens early extraction.S1
Plan Survival extractionNo. Official 1.0 notes say Solo has no traditional progression and no permadeath risk.S1
Read the Solo guideNMRiH2 supports Windows PC, PlayStation 5 and Xbox Series X|S, with cross-platform multiplayer.S8S2S9
View platforms and crossplaySource numbers match the links beside each claim. The date is an official-source review of this page; 1.0 rules and 1.1 changes are labeled separately. Practice suggestions are editorial advice.